Label images for Machine Learning with python open-source tool. Everything you need is Python set up and the image labeling package installed with Conda or pip. I will show you exactly how to do all that.
Prerequisites:
If you need more help installing Miniconda and setting up python environments for data science experimentation head over to my blog explaining just that!
Create a Python environment
Before installing the leading tool we want to have a clean python environment we can work with.
We can create a clean Python environment with the Conda CLI.
Open a terminal with Conda avaiable. You can test if conda is correctly installed by calling conda in your terminal. In windows it is recomended to use the anaconda comandpromt which is available after installing miniconda on your pc.
To create a new environment execute the following command.
conda create --name data_labeling_tool python 3.7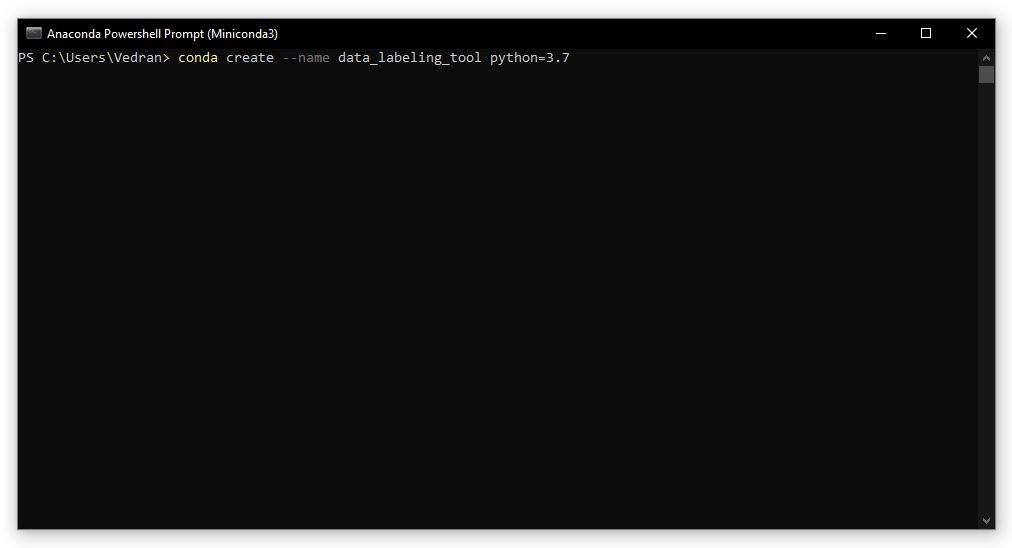
You should now have a clean python environment where we will install the labeling tool.
Before installing a new python package we need to activate the environment where the package should be installed.
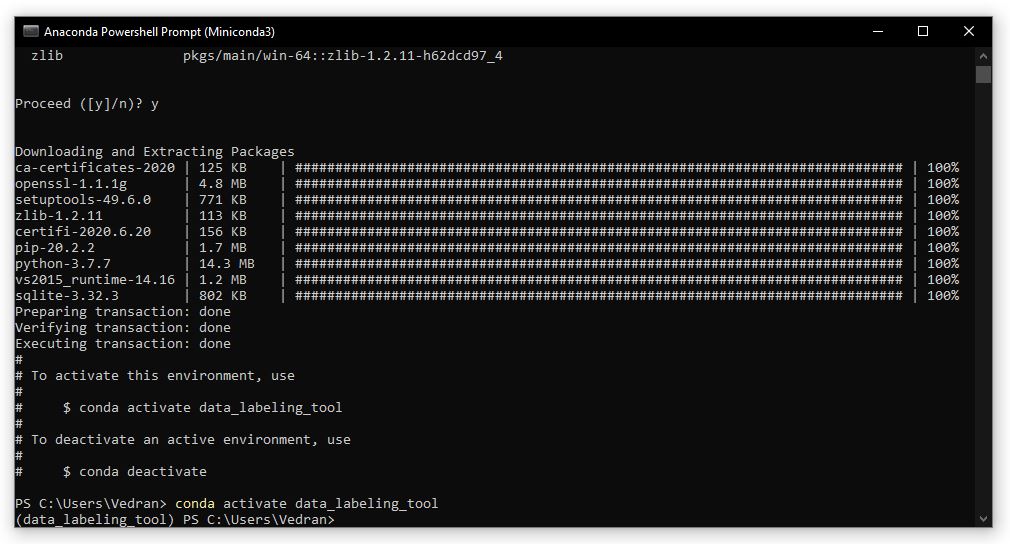
conda activate data_labeling_tool 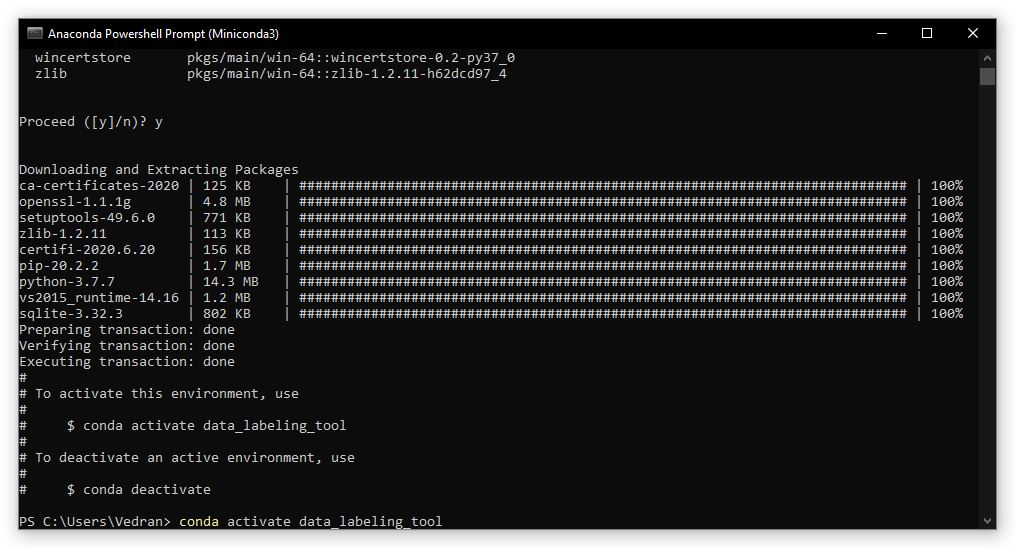
Install the image labeling package
The previously created Python environment should now be active.
We can now install additional packages to the active environment.
pip install label-studio 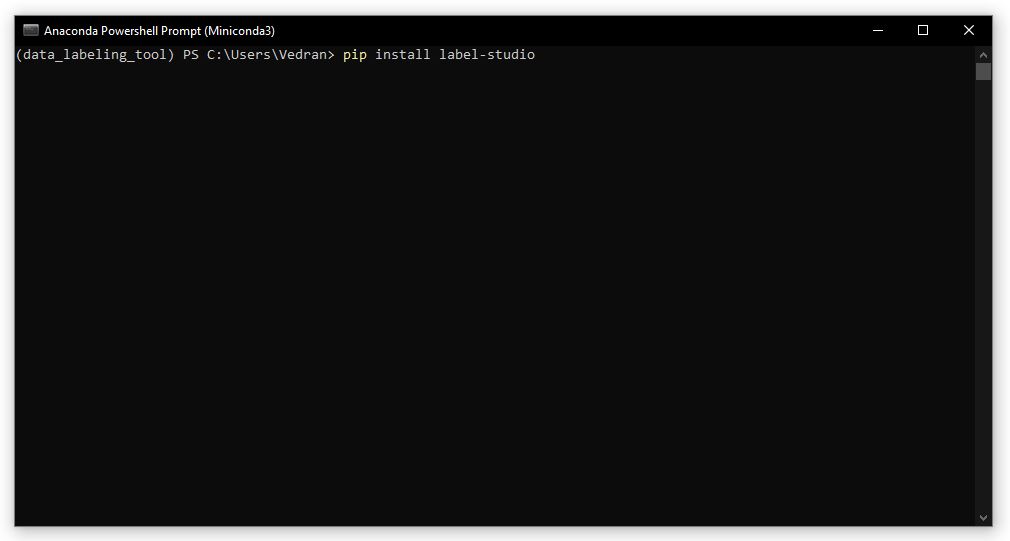
When the package is installed you can start the image labeling tool.
label-studio start my_project --init
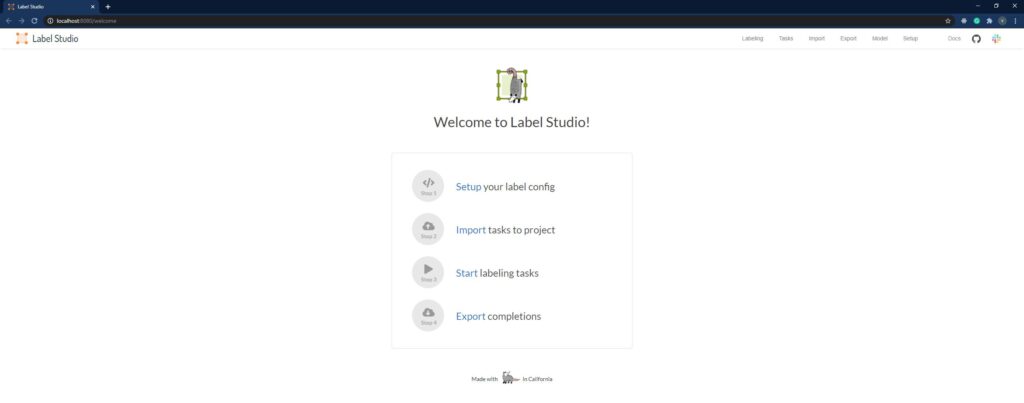
This command will start the tool on port 8080, it will automatically open in your default browser. Furthermore, if you need to start the tool a second time for the same project, in this example that would be “my_project” you can just leave out the –init part in the command.
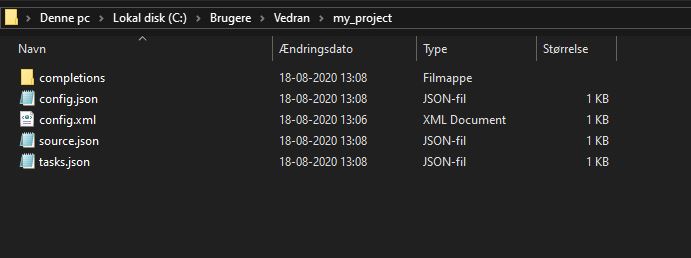
Depending on which folder you are in when you start the project the first time with the –init switch, in that folder, there should now be a folder called “my_project”.
Configure the image labeling project
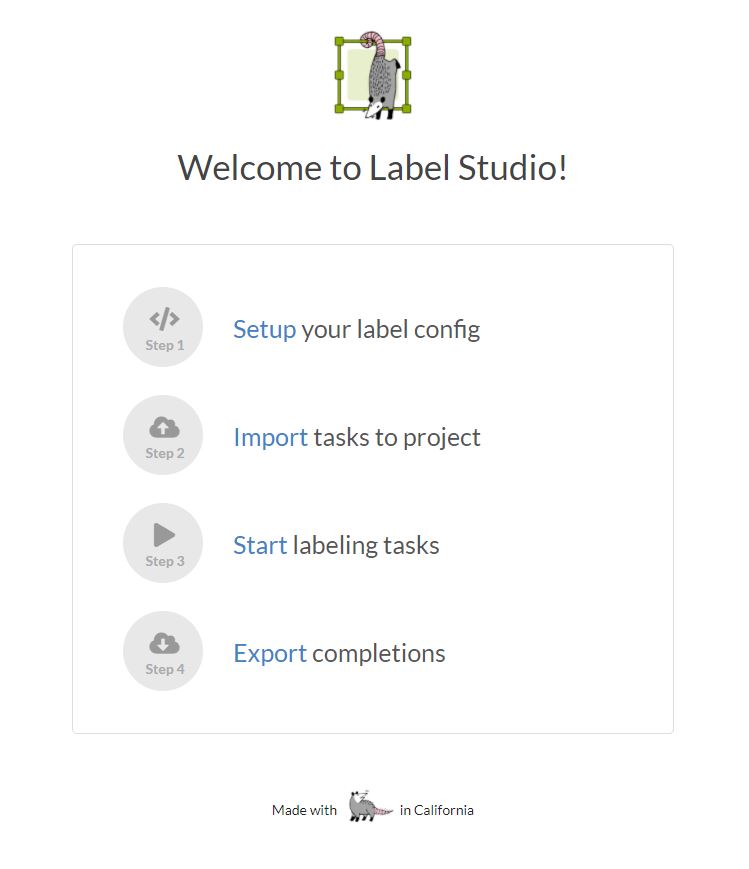
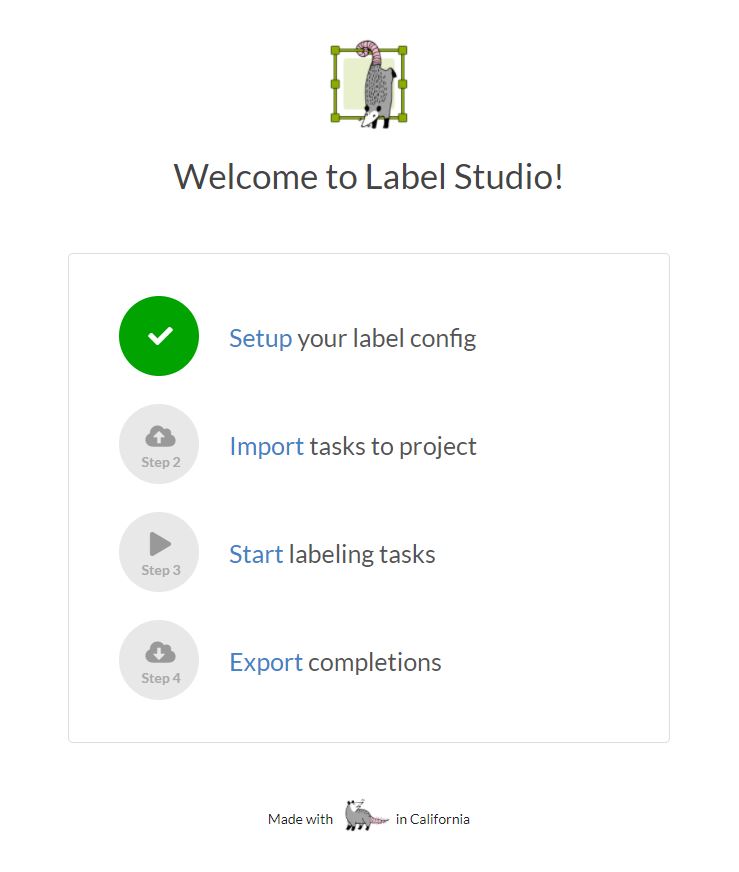
Before we can start labeling images, the project has to be configured. To do that click on “Setup” on the welcome screen.
You can now define your configuration by editing the XML describing what type of labeling you want and what labels you need. We want to label objects in images using bounding boxes.
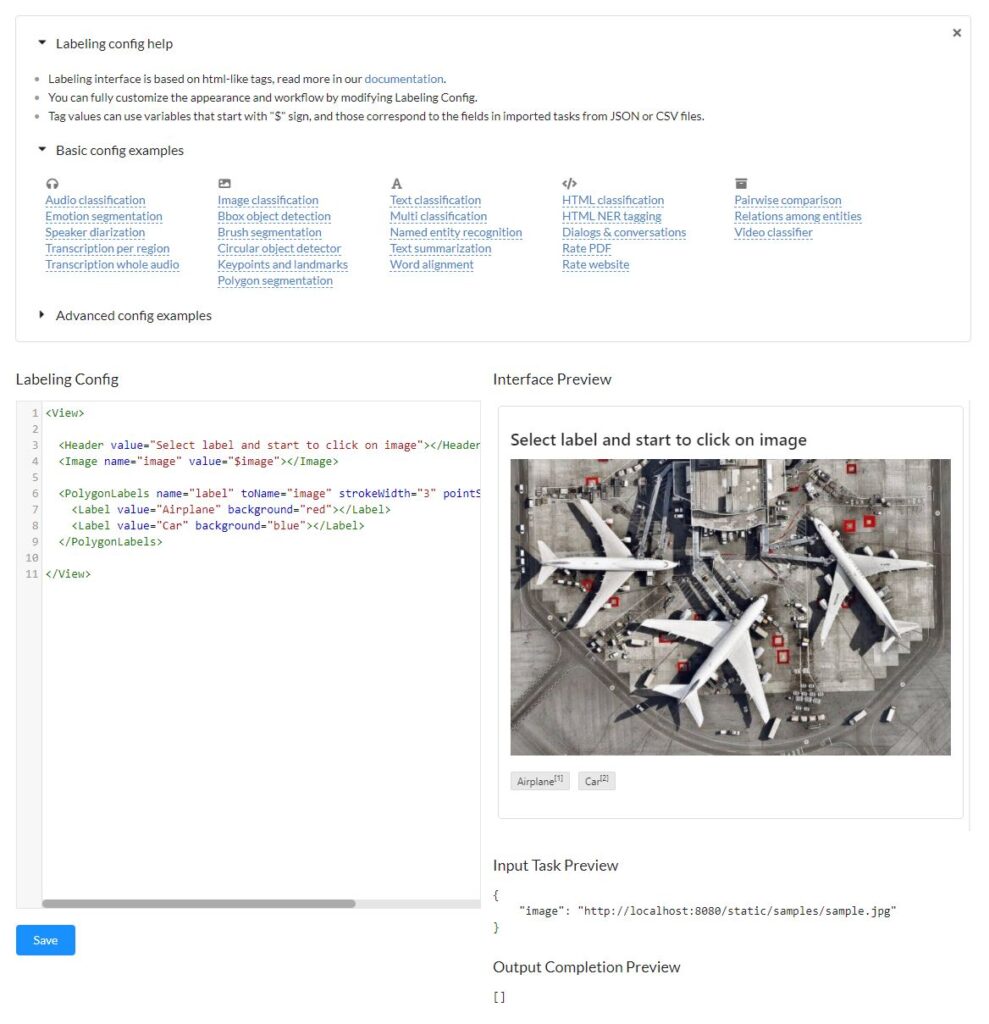
Replace the content in the “Labeling Config” text box with the following and save.
<View>
  <Image name="img" value="$image"></Image>
  <RectangleLabels name="tag" toName="img">
    <Label value="YOUR_LABEL_NAME_01"></Label>
    <Label value="YOUR_LABEL_NAME_02" background="blue"></Label>
  </RectangleLabels>
</View>
Remember to replace the value “YOUR_LABEL_NAME_01” and “YOUR_LABEL_NAME_02” with the label names your want to use.
Import image data
You can now proceed with importing the images you need to label. To do that you can go back to the welcome screen and click “Import”.
On the next screen, you will be able to import the data you need to label. The easiest way to import the data is to drag and drop all the images.
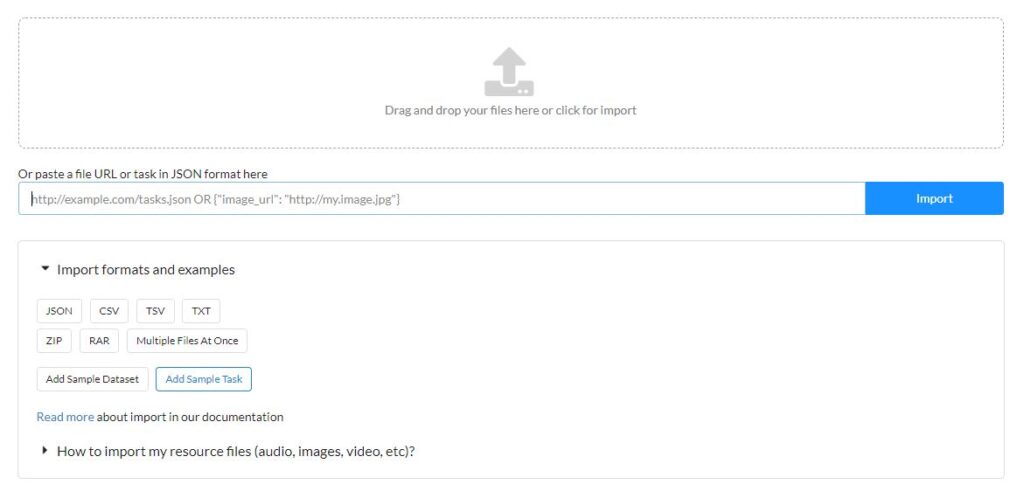
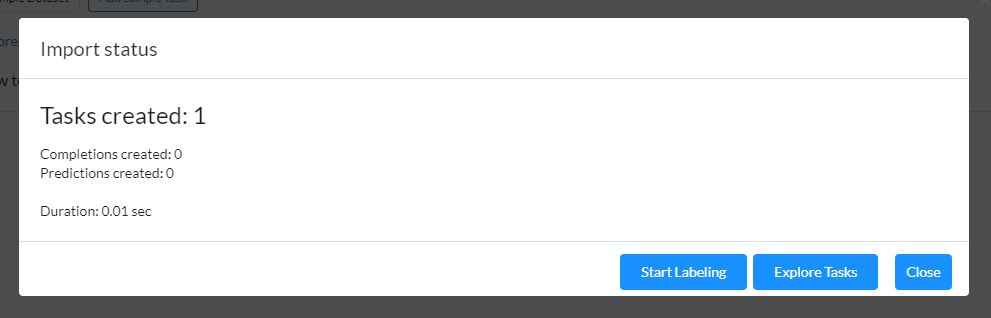
When the upload is done, you can click Start Labeling.
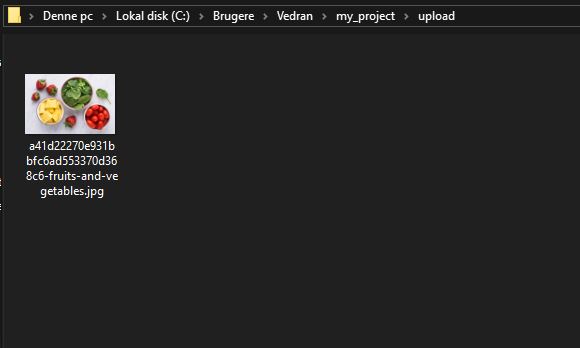
All uploaded images will now also be present in folder my_project/upload.
On the labeling screan you can easilly label as many objects as you like on each image. You first have to click the label you want to use then draw rectangles for that label on the image.
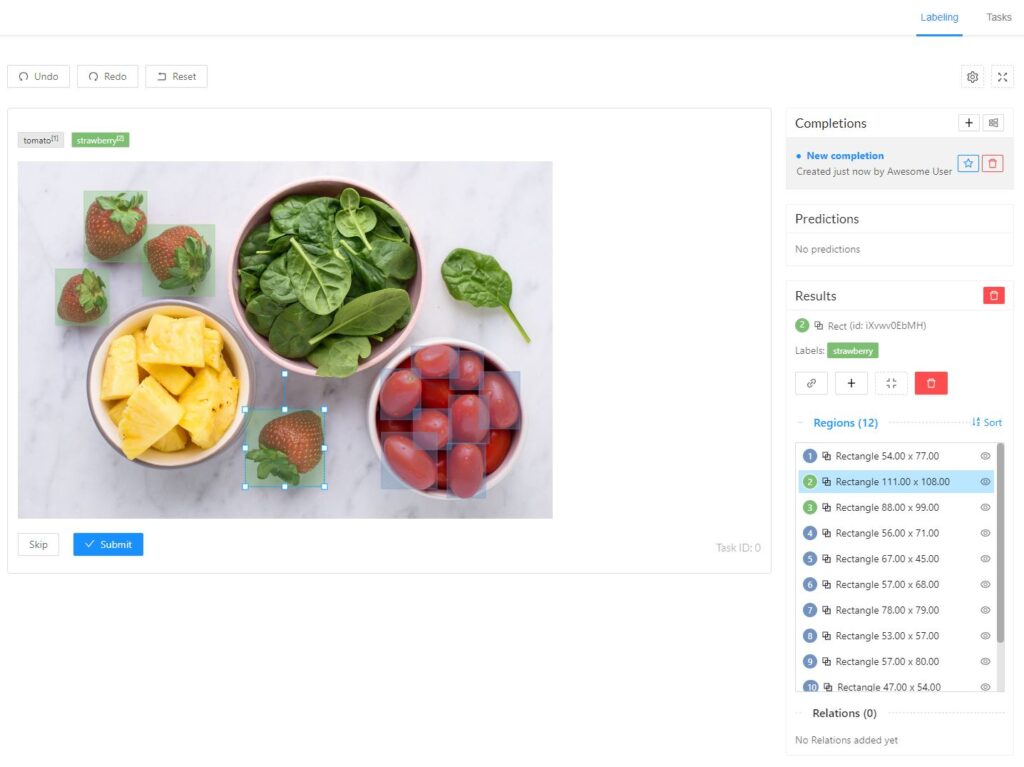
When there are no more images to label you can either find all labeled data in the folder my_project/completion or you have the option to export the labeled data.
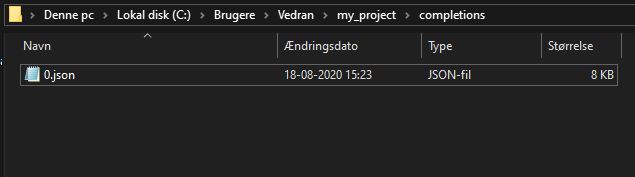
That’s it, you can now load the JSON files in your machine learning pipeline together with your images and use the images and the related object labels to train your object detection model.
If you are interested in working with machine learning using Python, then head over to my course Introduction to Machine Learning End-to-End. When you finish this course you will have a complete working code, which you can use for other projects!
